Showing posts with label home. Show all posts

The Kitchen: Accessories

Monday, December 4, 2017

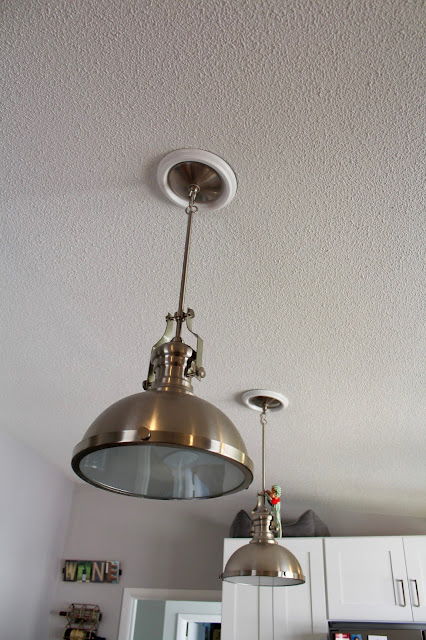
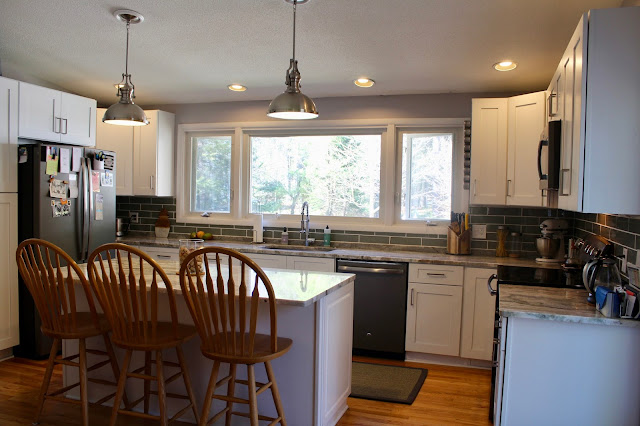
As we get closer and closer to finishing our kitchen, every little thing starts to feel exciting. We finally got the new pendant lights put in, arranged our cooking appliances (toaster, mixer, etc.) even got some pretty looking storage, and added a rug. It's all starting to come together to feel like a complete kitchen!

As it is in most homes, our kitchen is the center of everything. That means it's a pretty high traffic area. We wanted to do something to protect the floors and also still make it comfortable to stand in their cooking and socializing for an evening or a day. We found this awesome rug at Target that is similar to one we have in our entryway, and so far it has been perfect.


The really nice people at Rug Pad USA we're super helpful when it came to picking out a rug pad. The ones we normally bought are just thin and never seem to keep our rugs in place (especially with a cat and a dog running around like maniacs). I told them we wanted a lot of padding so it was comfortable to stand on and they were nice enough to send us this one, the Superior Lock - game changer!


Then we added the pendant lights. When we started this project, the kitchen had ten can light - that's a lot. These gave the room a much more homey feel. We are going to post our installation tutorial soon!


Not too shabby!


All Of The Lights: The Deck

Saturday, October 22, 2016

We are huge fans of outdoor string lights. There is something really nice about the atmosphere that comes from their glow. We also wanted to make our deck somewhere we'd want to hang out, and bright flood lights don't exactly say "relax, stay a while". So we picked out some great lights, picked up some supplies and got to work.

What we used:
4 2X2s 
1 Box Wood Screws
8 Hooks
Balance 

We went to home depot and got four 2x2 boards.

We had the corner boards go all the way down so we could secure them in more spots and make the post more stable.

                       
                      The two middle posts we attached with three screws, and pre-drilled holes for a hook.

We pre-drilled the holes for the hooks, on the two corner posts. We put two hooks on the corner posts, so the strand could go out wider.(See below)

Once the posts were secured, and the hooks were in place, we worked our way from one end of the deck to the other with the lights. We went back and forth between the posts and the roof line. (*Do not do this one your own - having a spot on the ladder is crucial - and having a good eye to help decide where the roof hooks should go, from the ground, is really helpful)


OOOOhhh AAAAHhhhh


It has a very cool way of making the deck feel like a room, and gives the whole backyard a nice glow.
It's the perfect spot to make lots of memories!

#demoday : The Kitchen

Friday, October 7, 2016

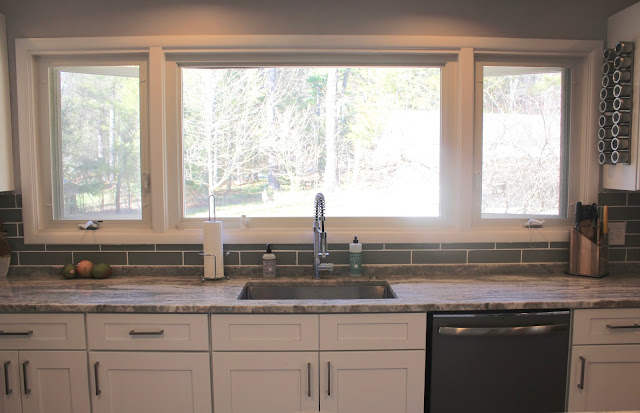
When we first saw our house we LOVED the size and layout of the kitchen. We did NOT love, the formica counters, the worn out cabinets, and the shallow/dirty sink. At first we thought to be cost effective we would replace the cabinet doors, but after meeting with our cabinet guy, realized the cost of just totally replacing them and the cost of getting new doors was pretty much the same (crazy right?).  So we decided out with old and in with the new.

We've been in the house for a while now, which has helped us to figure out what changes we need to make to create a more functional layout. We did away with a weird small counter top area to the left of the fridge and decided to add a pantry. We also went for all new appliances, and opted for the microwave being mounted over the stove, instead of in the oddly shaped cabinet to the right of the range (see below). This change would give us a whole new, larger cabinet. We also decided to go with 36in tall cabinets, adding a total of 6 inches storage everywhere!

So boring.


And now it's time to say goodbye, to our ugly old cabinets! It's also time to say good bye to the weird pulls, terrible counter top and yellow outlet plugs.


Slowly but surely..


Our cat, cringer, was very interested in this whole process.. for about 10 minutes and then he went back to napping.


Sorry for the mess, but it's demo! It took us two days, but we got it all out! Except for the island, but we'll save that surprise for later. We only had two cabinet casualties in the process and the rest are now living in our garage where they will be repurposed. Once everything was out we prepped the walls, filled in any holes, and also swapped out some of the outlets for brand new ones. 

**TIP: People  tend to overlook the affect new switches and plugs has on a home, it's an inexpensive change to make and instantly makes a room feel more modern. No one likes yellow plugs on their freshly painted walls, YUCK. Make sure if you decide to do this yourself that you turn the power off at the breaker!


Master Bathroom Update: Lighting

Friday, August 26, 2016

The master bathroom has come such a long way since we moved in, and so much has changed. I think we can all agree lighting is crucial in any room, especially the bathroom, so we wanted to create different lighting options and not just one fixed on/off setting. 

Just a little throw back to what our bathroom used to be.

Once we opened up the soffit we saw an opportunity to use part of what was there. To create a little less destruction, we moved the lights from the bottom and secured them to the board that was previously the top of the soffit. We also patched the wall where the 'Hollywood' light had been but kept the wires and put them into a new junction box. 

Then we took a board and traced out the three lights that we had moved upward. 


Once we were sure that would fit, we took the board out to stain it. We stained the bottom board the same color as a piece of reclaimed barn wood we had in the garage (because doesn't everyone have a stash of reclaimed barn wood?). 

Once all the boards were dry, we secured the underneath panel over the lights, with a nail gun. Then secured the reclaimed barn wood to the front, with wood screws and the impact driver, to act as a panel. It's covering the wires up top, and giving the appearance of a wood beam.

It actually came out a lot better than we imagined, it's up high enough now the room feels much taller, and the reclaimed wood warms up an otherwise gray, cool feeling space. 

Much better!

The lights in the soffit really help to brighten the space as well, great for beauty time.


We do need to replace the light in the shower, but for the time being, it works!

After our first shipment arrived damaged and had to be returned, we waited THREE MONTHS for this awesome mirror - totally worth the wait. Its a touch LED mirror with a blue setting (we found out it actually acts as a black light) and a white setting that you can see set into the mirror. The lights can be on individually or together. It looks very over budget - but surprisingly wasn't!


Shut The Front Door

Friday, July 22, 2016

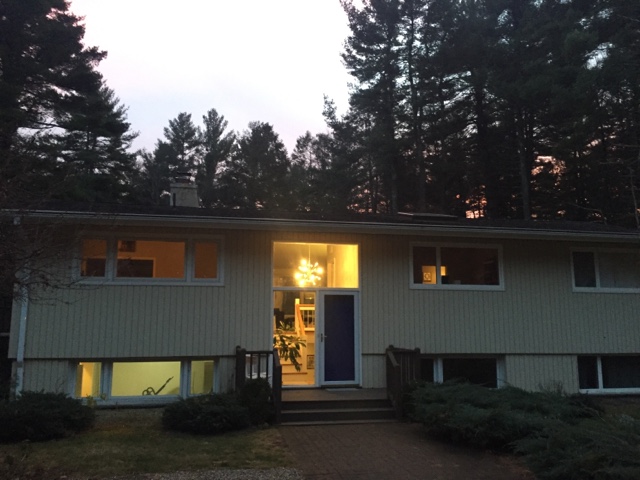
We loved our house because it was unique for our area and had so much light and so many windows, it was great. But it definitely lacked curb appeal, and what does one change when you want to up the curb appeal? Besides landscaping, a huge change you can make to any home is the front door, it's actually one of the highest ROI you can make during a renovation or just as an update. We initially ordered a gorgeous front door, that sadly didn't fit, so we were stuck with our oddly sized clunky door.  

(Before we moved in)

In a rush to get ready for our Christmas party, we made a very rash decision and painted the door a royal/navy colors that just wasn't right. Once the weather got a little warmer and we would be okay with just a front storm door, we got to work on fixing the door up!

Time to break out the belt sander! Always use safety glasses and if you can something to protect your ears (you'll miss your hearing when you're older).


Ready to rock & roll!

One side was pretty easy, only a coat of white paint.


The exterior side of the door, proved much more challenging. This project turned into a major event, with 8 or 9 layers and 40 years of paint to peel off. 


Just keep sanding.. Just keep sanding. 


Once it felt smooth it was time to prime!

After letting it dry for a few hours we got to work on the paint. It was two coats each side, and letting it dry over night in between.  

We picked Benjamin Moore's Beach Glass, and we really love the color, it gives a little more life to the exterior, and goes a lot better than the royal blue. 


It goes well nicely on the inside too, the walls are Moonshine (one of our go to colors).