Showing posts with label kitchen. Show all posts

The Kitchen: Accessories

Monday, December 4, 2017

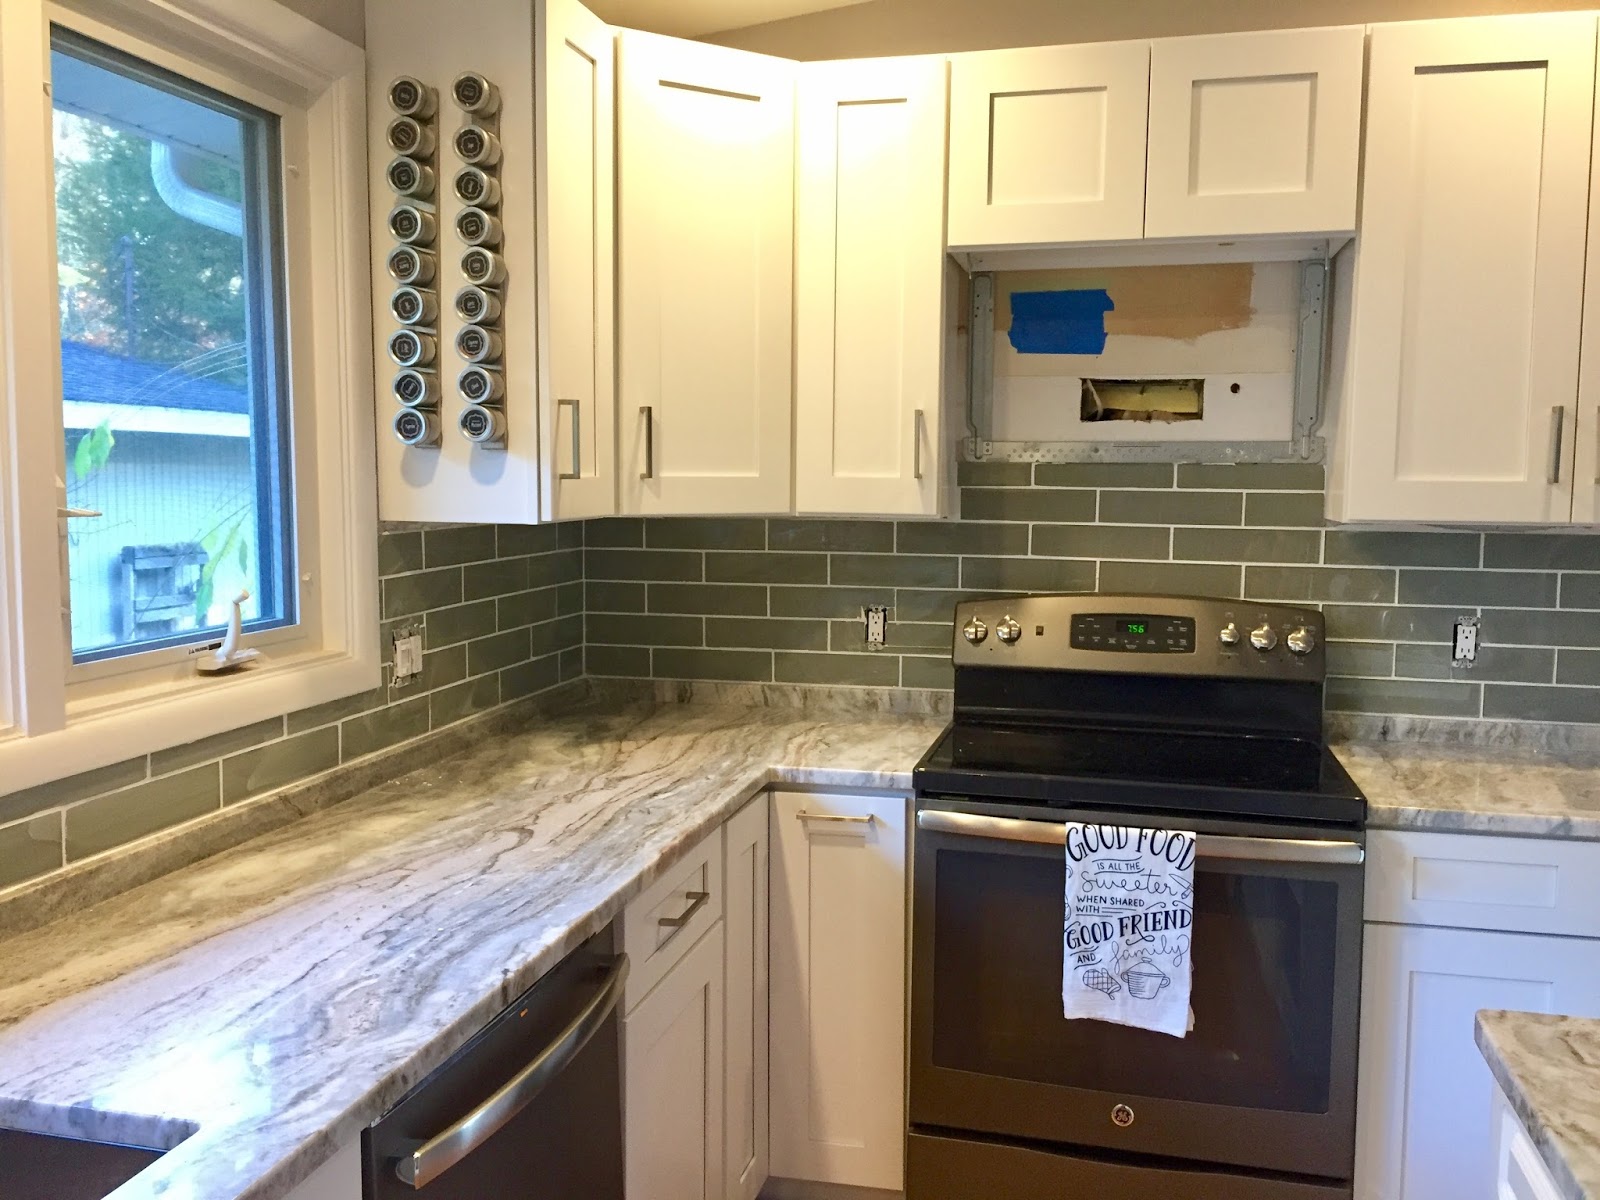
As we get closer and closer to finishing our kitchen, every little thing starts to feel exciting. We finally got the new pendant lights put in, arranged our cooking appliances (toaster, mixer, etc.) even got some pretty looking storage, and added a rug. It's all starting to come together to feel like a complete kitchen!

As it is in most homes, our kitchen is the center of everything. That means it's a pretty high traffic area. We wanted to do something to protect the floors and also still make it comfortable to stand in their cooking and socializing for an evening or a day. We found this awesome rug at Target that is similar to one we have in our entryway, and so far it has been perfect.


The really nice people at Rug Pad USA we're super helpful when it came to picking out a rug pad. The ones we normally bought are just thin and never seem to keep our rugs in place (especially with a cat and a dog running around like maniacs). I told them we wanted a lot of padding so it was comfortable to stand on and they were nice enough to send us this one, the Superior Lock - game changer!


Then we added the pendant lights. When we started this project, the kitchen had ten can light - that's a lot. These gave the room a much more homey feel. We are going to post our installation tutorial soon!


Not too shabby!


Kitchen: Backsplash & Pulls

Wednesday, March 8, 2017

Hello all! Sorry for our absence.. the holidays got away from us! We had a great time hosting friends and family and we luckily managed to get the kitchen pretty much done (someday we will be able to say totally done - right?). Anyway, back to the kitchen.. after much termoil, staring, texting photos to friends for opinions, we picked a tile. Then.. we put it up! Woooo! 


This was our first tiling experience using individual tiles and not sheets. We thought we were going to hate it, but it actually ended up being a lot easier than expected. Having the right spacers, and enough of them is essential - but we'll get to that later!

Besides our indecision on the which tile to go for, we had complications with the plugs in the backsplash, as well as the switch for the garbage disposal, having no where to go now that we had added the countertop 1.5in backsplash (not to mention we also now had level cabinets and counter tops, our original kitchen had a significant slope to the right). After much debate we decided to have our amazing countertop team come out and drill a hole just above the sink where our awesome new disposal button would be! Once the electrician wired it in, and closed off the other plug we didn't need we were ready to rock and roll (two weeks behind schedule, and one week before Thanksgiving).


Oh and the sink went in - SO PRETYY!! We chose the same faucet, and a similar sink to our last renovation.


We started in the far corner by the fridge, and worked our way across in sections. (Side note, our tiles were ones we found at Lowe's, we love them now but the process of finding enough boxes of them for this project required trips to a few stores.)


These spacers were our BEST FRIENDS for this project.  We actually ended up using two sizes, one went along the bottom of the countertop backsplash, and the other was between the intersections of all the tiles.


  As we started to work our way across, the other awesome new tool we picked up, seriously came in handy - we bought a wet saw! It turned out to be a life saver, and a very good purchase design. The saw came with a diamond blade, which ended up being great for our master bathroom project, for this project we had to pick up a diamond blade for glass.


We kept working our way from one end of the kitchen to the next, being careful to only use the amount of mortar we needed so that the tiles would dry and not be too heavy.

We used our tile sponge to clean up the tiles, and remove the spacers - once the mortar had dried.


Since we had chosen a glass tile, we wanted to invest in new tile floats, to make sure we didn't scratch the tiles. We also picked up a grout additive, it's meant to keep the grout from staining, and in a kitchen that's essential!


Grouting this project required a good bit of patience. There is a lot of tile surface area so just spreading the grout with the float isn't exactly the easiest thing to do. We had to get a little creative and try to just apply it to the actual lines. Never the less, we figured it out, but these tiles did require lots of cleaning, we got a serious arm work out.


You can see in these pictures, it's still a little hazy - time to clean the sponge and go again!


In the midst of putting up the backsplash tile our pulls arrived and we started installing those as well! We went with two sizes, one size for the doors/drawers and a larger size for the pantry (oooo aahhh).


It's beginning to look a lot like a real kitchen! More to come!

Amanda & Joe


Kitchen Continued: Countertop Installation Day!

Sunday, November 20, 2016

The day we have been waiting for arrived, counter top installation day! We chose a great, budget friendly quartz product that was called 'Brown Fantasy'. Personally, we think the name is a little miss leading, it does have some brown and tan tones but it's mostly gray and white, oh well! 


Below is our corner piece before they seamed it together with the longer run portion. Shout out to Gothic Marble & Granite who are amazing, prompt, professional AND the seams they did literally disappear. They cut our two end portions from the second slab at either end of the sink run, since the slabs were mirror images, it looks like one continuous counter top pattern.


We couldn't be more excited!


They also cut this piece so the veining would continue over from the island, they really had a great attention to detail for the entire layout. 


We also chose to have a 2" backsplash installed. In most kitchens we've seen there is either a backsplash tile, or the counter top backsplash, but we thought that having a small quartz backsplash beneath the tile would look cleaner. Not tiling down to the countertop also eliminates that pesky grout line that seems to always get dirty. (The cat approves).


Now it's time to get to tiling!!


The Kitchen: Progress

Monday, October 31, 2016

Looking at this scene for two days was pretty sad. Now don't get us wrong we are THRILLED for a new kitchen, but nothing ever goes according to plan. Never the less, the cabinet installation has begun! (We're saying begun, because three weeks later, it's still not done - what can you do?)


We went with white shaker cabinets, it might seem a little boring but we LOVE them. They look clean, and they're versatile in terms of what kind of counter top you can get, back splash etc.
                                             
Cringer LOVES the new cabinets (clearly).

We we're so excited for the cabinets, and tired of our kitchen being in the dining room, we started moving our stuff back in before the countertops or hardware was installed. Plus we felt being able to access our barware was essential :)


Even with all the stress, it was great to get to reorganize all our things, we gained a good amount of storage which gave us the freedom to really plan our kitchen well.


It's coming along!


Our gorgeous slabs.. yay! We chose Brown Fantasy quartz and couldn't be more excited to see them installed.


Stay tuned!!

#demoday : The Kitchen

Friday, October 7, 2016

When we first saw our house we LOVED the size and layout of the kitchen. We did NOT love, the formica counters, the worn out cabinets, and the shallow/dirty sink. At first we thought to be cost effective we would replace the cabinet doors, but after meeting with our cabinet guy, realized the cost of just totally replacing them and the cost of getting new doors was pretty much the same (crazy right?).  So we decided out with old and in with the new.

We've been in the house for a while now, which has helped us to figure out what changes we need to make to create a more functional layout. We did away with a weird small counter top area to the left of the fridge and decided to add a pantry. We also went for all new appliances, and opted for the microwave being mounted over the stove, instead of in the oddly shaped cabinet to the right of the range (see below). This change would give us a whole new, larger cabinet. We also decided to go with 36in tall cabinets, adding a total of 6 inches storage everywhere!

So boring.


And now it's time to say goodbye, to our ugly old cabinets! It's also time to say good bye to the weird pulls, terrible counter top and yellow outlet plugs.


Slowly but surely..


Our cat, cringer, was very interested in this whole process.. for about 10 minutes and then he went back to napping.


Sorry for the mess, but it's demo! It took us two days, but we got it all out! Except for the island, but we'll save that surprise for later. We only had two cabinet casualties in the process and the rest are now living in our garage where they will be repurposed. Once everything was out we prepped the walls, filled in any holes, and also swapped out some of the outlets for brand new ones. 

**TIP: People  tend to overlook the affect new switches and plugs has on a home, it's an inexpensive change to make and instantly makes a room feel more modern. No one likes yellow plugs on their freshly painted walls, YUCK. Make sure if you decide to do this yourself that you turn the power off at the breaker!


Kitchen Before and After

Friday, February 14, 2014

We're both so happy and proud to share this post. A lot of hard work, thought and patience went into this part of our house, the kitchen. We both love to cook and so for us the lay out of the kitchen was super important. We worked with different designers and went through quite a few lay out options till we found the right one for us.


It took around three months from beginning to end - felt like an eternity but all in all it was worth it. We did what we could ourselves, including painting, back splash etc. Despite the exhaustion we couldn't love it more and we're so happy to share it! 

The Projects:
Removing the old cabinets (and finding them a new home)
Opening the wall
New Floors 
Painting
Kitchen Cabinets
Choosing Hardware


The Details:


Do you have an awesome kitchen remodel you've done? Share it with us!