Hi All! Sorry for a little lag in posts - the move, bathroom renovations, and holidays were a bit hectic, but we're settling in finally. One project that has been long over due were the new house numbers we made for the garage. Our garage is detached, I think Joe loves it so much because it's his own man cave now, but anyway its the first thing you see when you pull up to the house and curb appeal is important! The existing ones were fine but since our house is a 1950s split and we're going for the Mid-Century vibe I thought some modern looking numbers would be nice. And it wouldn't be our project if a little reclaimed wood wasn't involved.
This is the sad before picture.
A little sand paper, water proofing sealer and stain was all we needed to prep the board.
First, we sand.. and sand.. and sand.
Then using a rag a light coat of stain went on, and we let it dry for 24 hours. Once the stain had dried we did two coats the spray sealant, with the instructed drying times in between!
Using the template to decide on the number placement and mark the spots to drill.
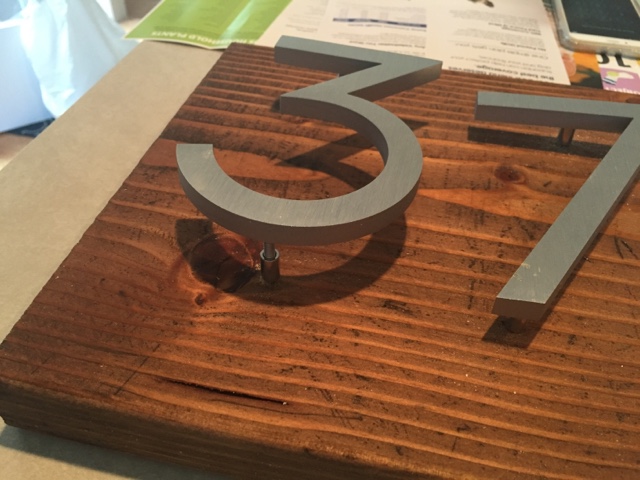
The numbers came with instructions for the exact hole size to drill into the board. Then we simply tapped them snuggly into place. *If for some reason they seem loose to you, a little silicone can be added to the inserted end and will keep the numbers attached.
I snapped this picture the first time I saw the numbers, Joe hung them while I was working late, and it was a wonderful surprise. (He used four carriage bolts that actually went through the wall and we're fastened on the other side - those numbers aren't going anywhere.)


Love this idea. Thank you .
ReplyDeleteThank you! So glad you like it!
Delete